Pressure Points: Where Belief Is Tested
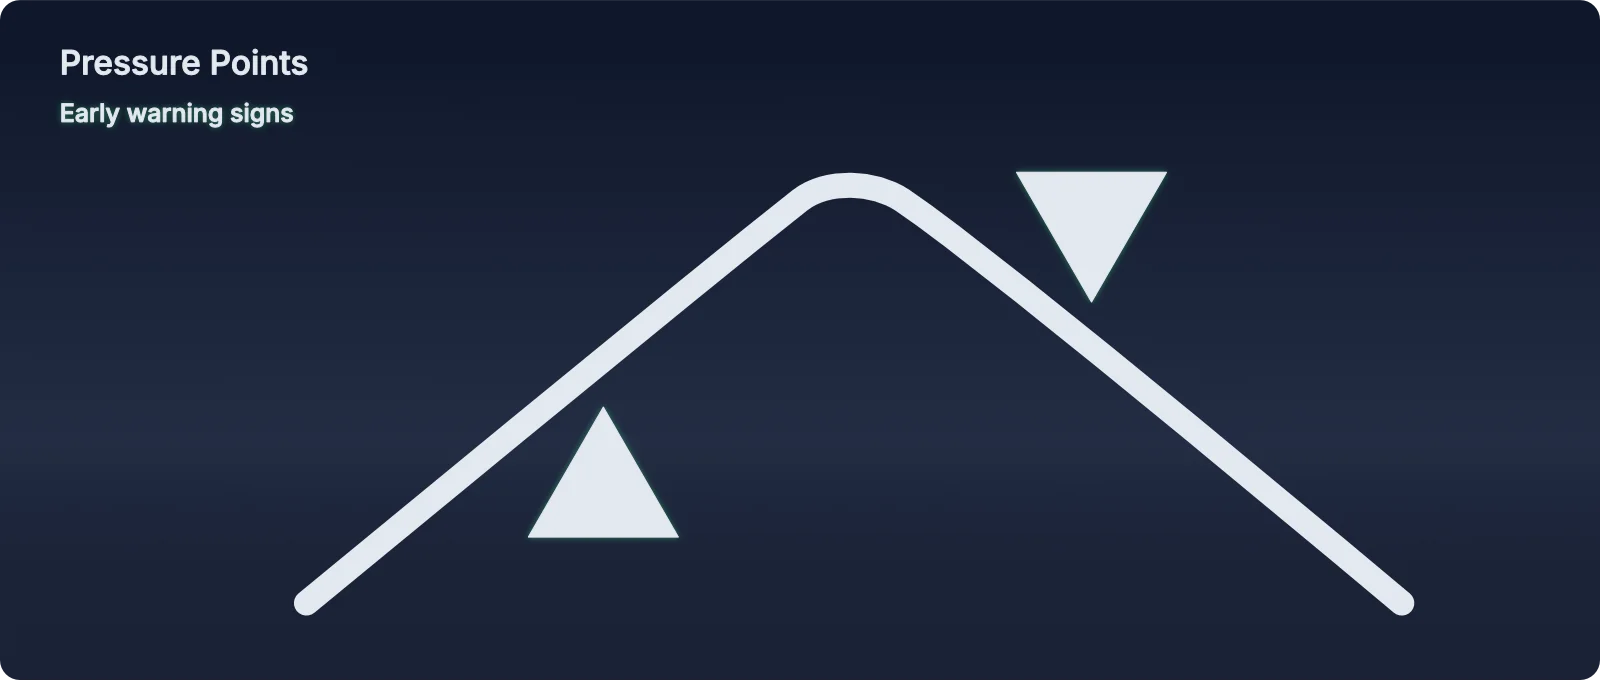
Pressure Points: Where conviction starts to become fractured. Early warning signs that the current trend is showing signs of fractured beliefs—and whether belief holds or breaks. This is where setups become clear.

What Pressure Points Reveal
Every time price approaches a Ray or a key structure level, the crowd's belief is tested. Will buyers defend? Will sellers step in? Will the level hold or break?
Pressure Points mark these critical moments. They show you in real time whether the crowd's conviction is genuine or about to be exploited. These are the areas where institutional order blocks and liquidity zones form—where smart money positions before major moves.
The Manipulation Zone
How to Use Them in Practice
When a Pressure Point forms, you're watching for one of three outcomes:
- Confirmation: The crowd's belief holds. Price respects the level and moves in the expected direction.
- Rejection: The belief breaks. Price pushes through, revealing the level was false or weak.
- Manipulation: Price briefly breaks the level, triggers stops, then reverses sharply. Classic stop hunt.
Example Scenario: Pressure Point Confirmation
- What you see: Price pulls back to a Ray during an uptrend. A Pressure Point forms as buyers step in.
- What it means: The crowd's belief in support is confirmed. Buyers are defending the level.
- Your action: Enter long within the Buffer zone, aligned with the River flow.
Example Scenario: Pressure Point Rejection (Stop Hunt)
- What you see: Price breaks below a Ray, forms a sharp Pressure Point spike, then reverses back above.
- What it means: Stop hunt. Market makers grabbed liquidity below the Ray, then reversed.
- Your action: Enter long after price reclaims the Ray and shows renewed belief flow.
Common Mistakes It Prevents
- Entering before confirmation: Wait for the Pressure Point to show whether belief holds. Don't guess.
- Getting stopped out in manipulation: When you see a sharp Pressure Point spike followed by reversal, you know it was a liquidity grab. Don't chase it.
- Ignoring weak conviction: If Pressure Points are forming but price keeps drifting through them, the crowd's belief is weak. No setup.
Combining Pressure Points with Other Elements
Pressure Points are your confirmation tool. They work with the River (momentum) and Rays (boundaries) to give you complete setup clarity:
- The River shows upward flow (momentum is aligned).
- Price approaches a Ray (perceived support).
- A Pressure Point forms at the Ray, confirming buyers are stepping in.
- You enter within the Buffer, knowing structure supports the move.
The Psychology Behind Pressure Points
Here's what most traders don't realize: market makers profit from triggering stops and grabbing liquidity. They push price just far enough to shake out weak hands, then reverse.
Pressure Points let you see this in real time. When you spot a sharp spike followed by reversal, you know what happened—and more importantly, you know where the real move is heading.
From the Manual
The manual includes dozens of chart examples showing Pressure Point behavior—confirmations, rejections, and manipulation patterns. You'll learn to read these critical moments and position yourself on the right side of the move.